제작과정
|
|
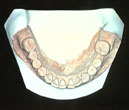
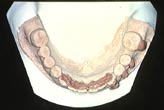
Fig 1. Model fabrication and preparation |
|
Die stone으로 모델을 제작하여 분리제를 바른 후 건조시킨다. |
|
|
|
|
|
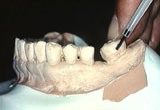
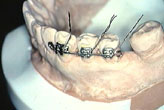
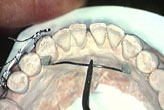
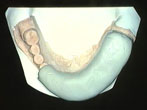
Fig 2. Adjustment of canine to canine retainer |
|
|
|
|
|
|
|
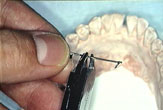
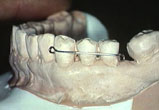
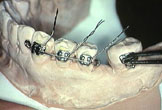
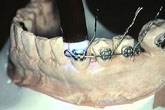
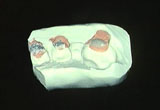
Fig 3. Wiring of stabilization wire on anchor part |
|
Heavy rectangular wire를 선택하여 고정원에 결찰시킬 wire를 제작한다. |
|
|
|
|
|
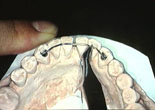
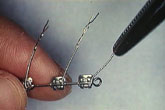
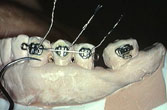
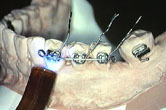
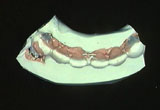
Fig 4. Ligation of brackets and microetching of their bases |
|
안정화 호선에 브라켓을 결찰한 후 원하는 위치를 정하여 결찰 와이어를 tightening시킨다. |
|
|
|
|
|
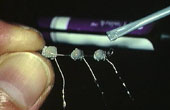
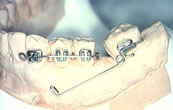
Fig 5. Placing brackets with wire on the model using light cured resin adhesive |
|
광중합 레진(TransbondTM)을 각각의 브라켓 베이스에 올려놓고 모델에 위치시킨다. |
|
|
|
|
|
Fig 6. Placing orther attachment into ideal position. |
|
|
|
|
|
|
|
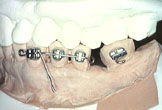
Fig 7. Cleaning off flash and occlusal interference check-up. |
|
잔여레진을 제거하고 교합간섭을 검사하는데 반대측 악궁을 이용하며 필요시 좀더 낮은 위치로 바꾼다. |
|
|
|
|
|
Fig 8. Light-curing resin |
|
|
|
|
|
|
|
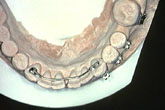
Fig 9. Wiring of moving part and removal of all wires |
|
Uprighting spring을 미리 제작하여 chair time을 줄인다 |
|
|
|
|
|
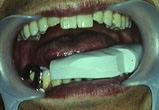
Fig 10. Tray fabrication with silicone impression material |
|
Light body를 attachment 주위로 올리고 heavy body를 얹어 경화시킨 후 모델을 물속에 30분 정도 담궈둔다 |
|
|
|
|
|
Fig 11. Sectioning of tray and cleaning of resin base |
|
Die stone이 남아 있다면 explorer나 low speed green stone으로 제거한 후 tray를 두 조각으로 자른다 |
|
|
|
|
|
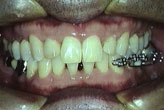
Fig 12. Chairside bonding and immediate wire insertion |
|
Plastic bracket conditioner를 레진 베이스에 바른 후 부착될 치아를
세마, 탈회, 세척, 건조시킨다. |
|


![]()

